Overview
We understand you may need to reschedule your services or routes from time to time. We have simplified this process in Spraye so that you and your technicians have the capability to reschedule services at any time with just a few clicks. We've improved our customer notifications for the rescheduling feature so your customers are always in the know. Check out the details below!
3 Ways to Reschedule a Service
#1 Dashboard > Scheduling > Scheduled Routes
(best for rescheduling a single service)
- From the admin dashboard, click on the Scheduling tab in the main navigation panel on the left
- Click Scheduled Routes
- Switch to Calendar View

- Click to "drag & drop" any single service
- Once you drop the service on the desired date, you'll be able to specify rescheduling details

- Don't forget to check the Send Rescheduled Email box if you want to notify your customer.
- This notification is not automated. You need to check the box to send the email.
- Remember The reason you choose here will show up on the "Service Rescheduled" email that goes out to your customers
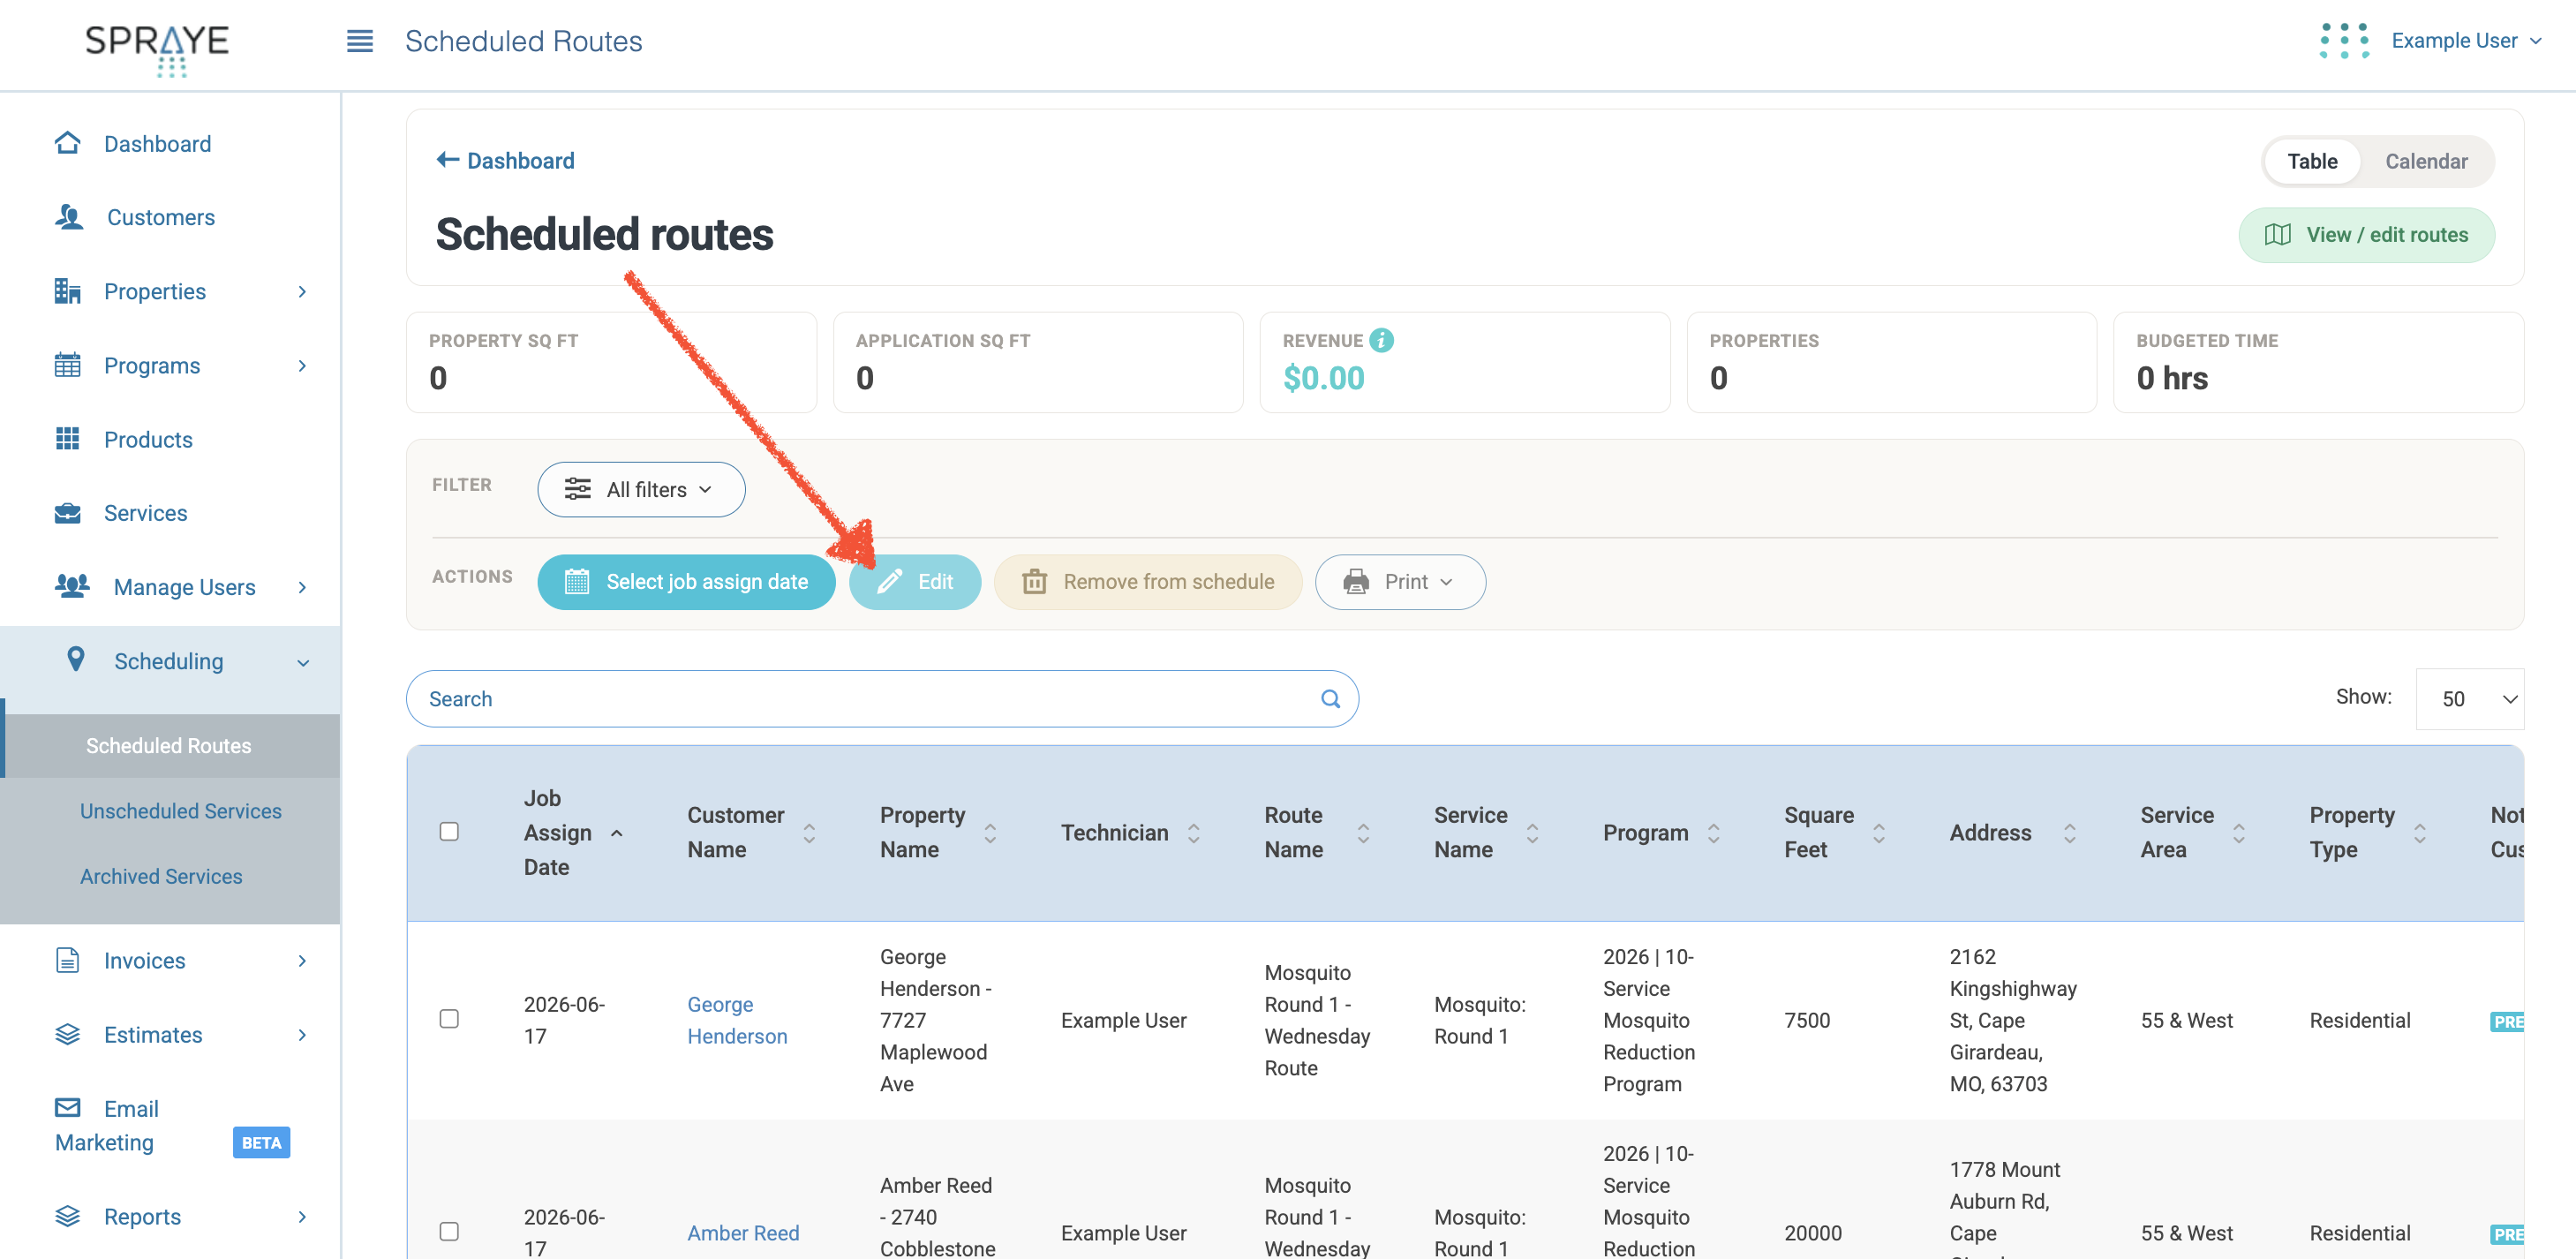
#2 Dashboard > Scheduled Routes > Table View
(best for rescheduling multiple services in bulk or moving an entire route to another day)
- From the admin dashboard, click on the Scheduling tab in the main navigation panel on the left
- Click Scheduled Routes
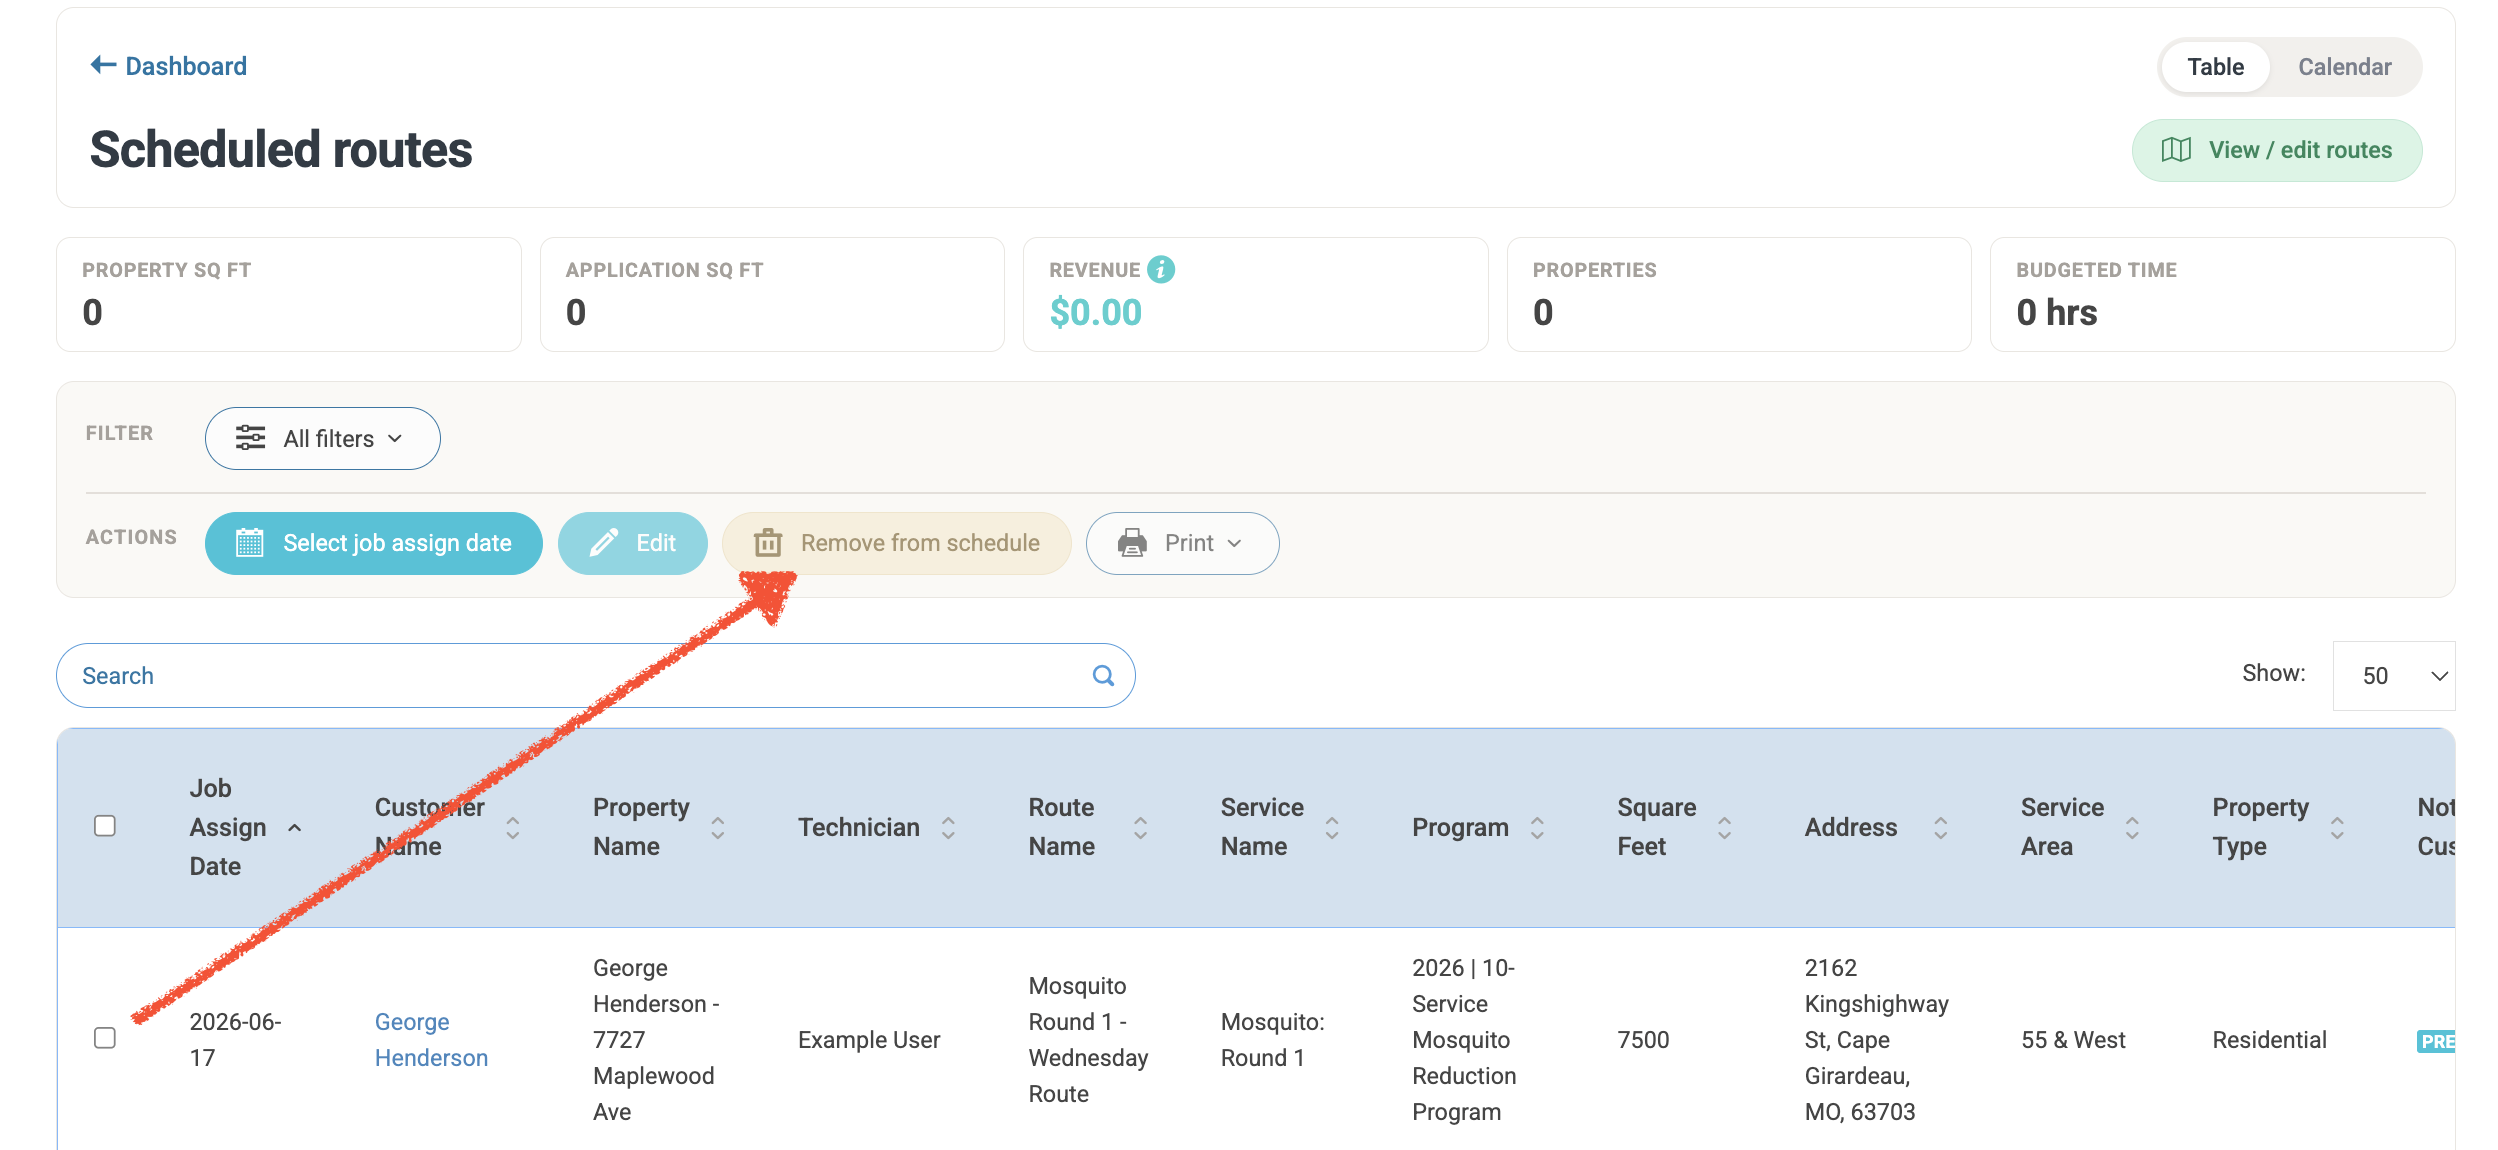
- Check the box next to single, multiple, or all services

- Click the Edit button at the top of the table

- In the next box, be sure to fill out all of your rescheduling details

- Don't forget to check the Send Rescheduled Email box if you want to notify your customer.
- This notification is not automated. You need to check the box to send the email.
- Remember The reason you choose here will show up on the "Service Rescheduled" email that goes out to your customers
#3 Technician View
- From the technician view, click on a customer's name/property to get started
- Scroll to the bottom of the screen and click the Reschedule button

- Now, choose a reason for rescheduling this service from the dropdown menu

- Remember The reason you choose here will show up on the "Service Rescheduled" email that goes out to your customers
- The "Hold Until" feature allows you to reschedule the service and choose to hold it until a specific date. This means you won't be able to schedule that service again until the date that was chosen. If you do not choose a date here, users can rescheduled the service at any time. For more information about the "Hold Until" feature, click here.
- Click Reschedule
- Now, that service will appear on the "Unassigned Services" screen with the reason for rescheduling and the name of the user that rescheduled the service.

- An email will be sent out automatically to your customer with the reason for rescheduling included.
- Note Automated emails only go out if the setting is turned ON in your global settings. See example below:

- Note Automated emails only go out if the setting is turned ON in your global settings. See example below:
How to Remove a Service from a Route
Admin > Scheduled Routes > Table or Calendar View
- From the admin dashboard, click on the Scheduling tab in the main navigation panel on the left
- Click Scheduled Routes
- You have the ability to remove a service from a route on the Calendar or Table View
- Once removed, it will reappear on the Unscheduled Services screen

Scheduled Services That Don't Get Completed
If a technician is unable to finish all assigned jobs on their route by the end of the day, the system automatically safely returns those uncompleted services back into your Unscheduled Services pool overnight.
To help office staff quickly distinguish these incomplete rollovers from standard unscheduled work, the system automatically flags them and applies a blue highlight to their rows.
How to Find and Group Rollover Services
When you have hundreds of unassigned jobs, scrolling through pages to find blue-highlighted rows can be tedious. Follow this sorting trick to instantly group them all at the top of your screen:
Step-by-Step Workflow:
- Navigate to Scheduling -> Unscheduled Services from the left-hand navigation menu.
- Ensure you are looking at the page in Table View.
- Locate the column header titled Rescheduled Reason.
- Click the column header once: This sorts the list and pushes all the blue-highlighted rollover jobs to the very bottom of your list.
- Click the column header a second time: This reverses the sort order, instantly pulling all the blue-highlighted, uncompleted jobs straight to the top of your page as a single group.
Once grouped, you can use the bulk-action checkboxes to instantly assign them to a new date, move them to a different truck, or re-optimize them into an upcoming route.