You can easily customize the message that appears at the bottom of your pre-printed invoices. Follow the steps below to update your default pay stub invoice message.
Step 1: Go to Global Settings
Hover over your name, and open Global Settings.
Scroll down until you reach the Invoice section.
Step 2: Edit the Default Pay Stub Invoice Message
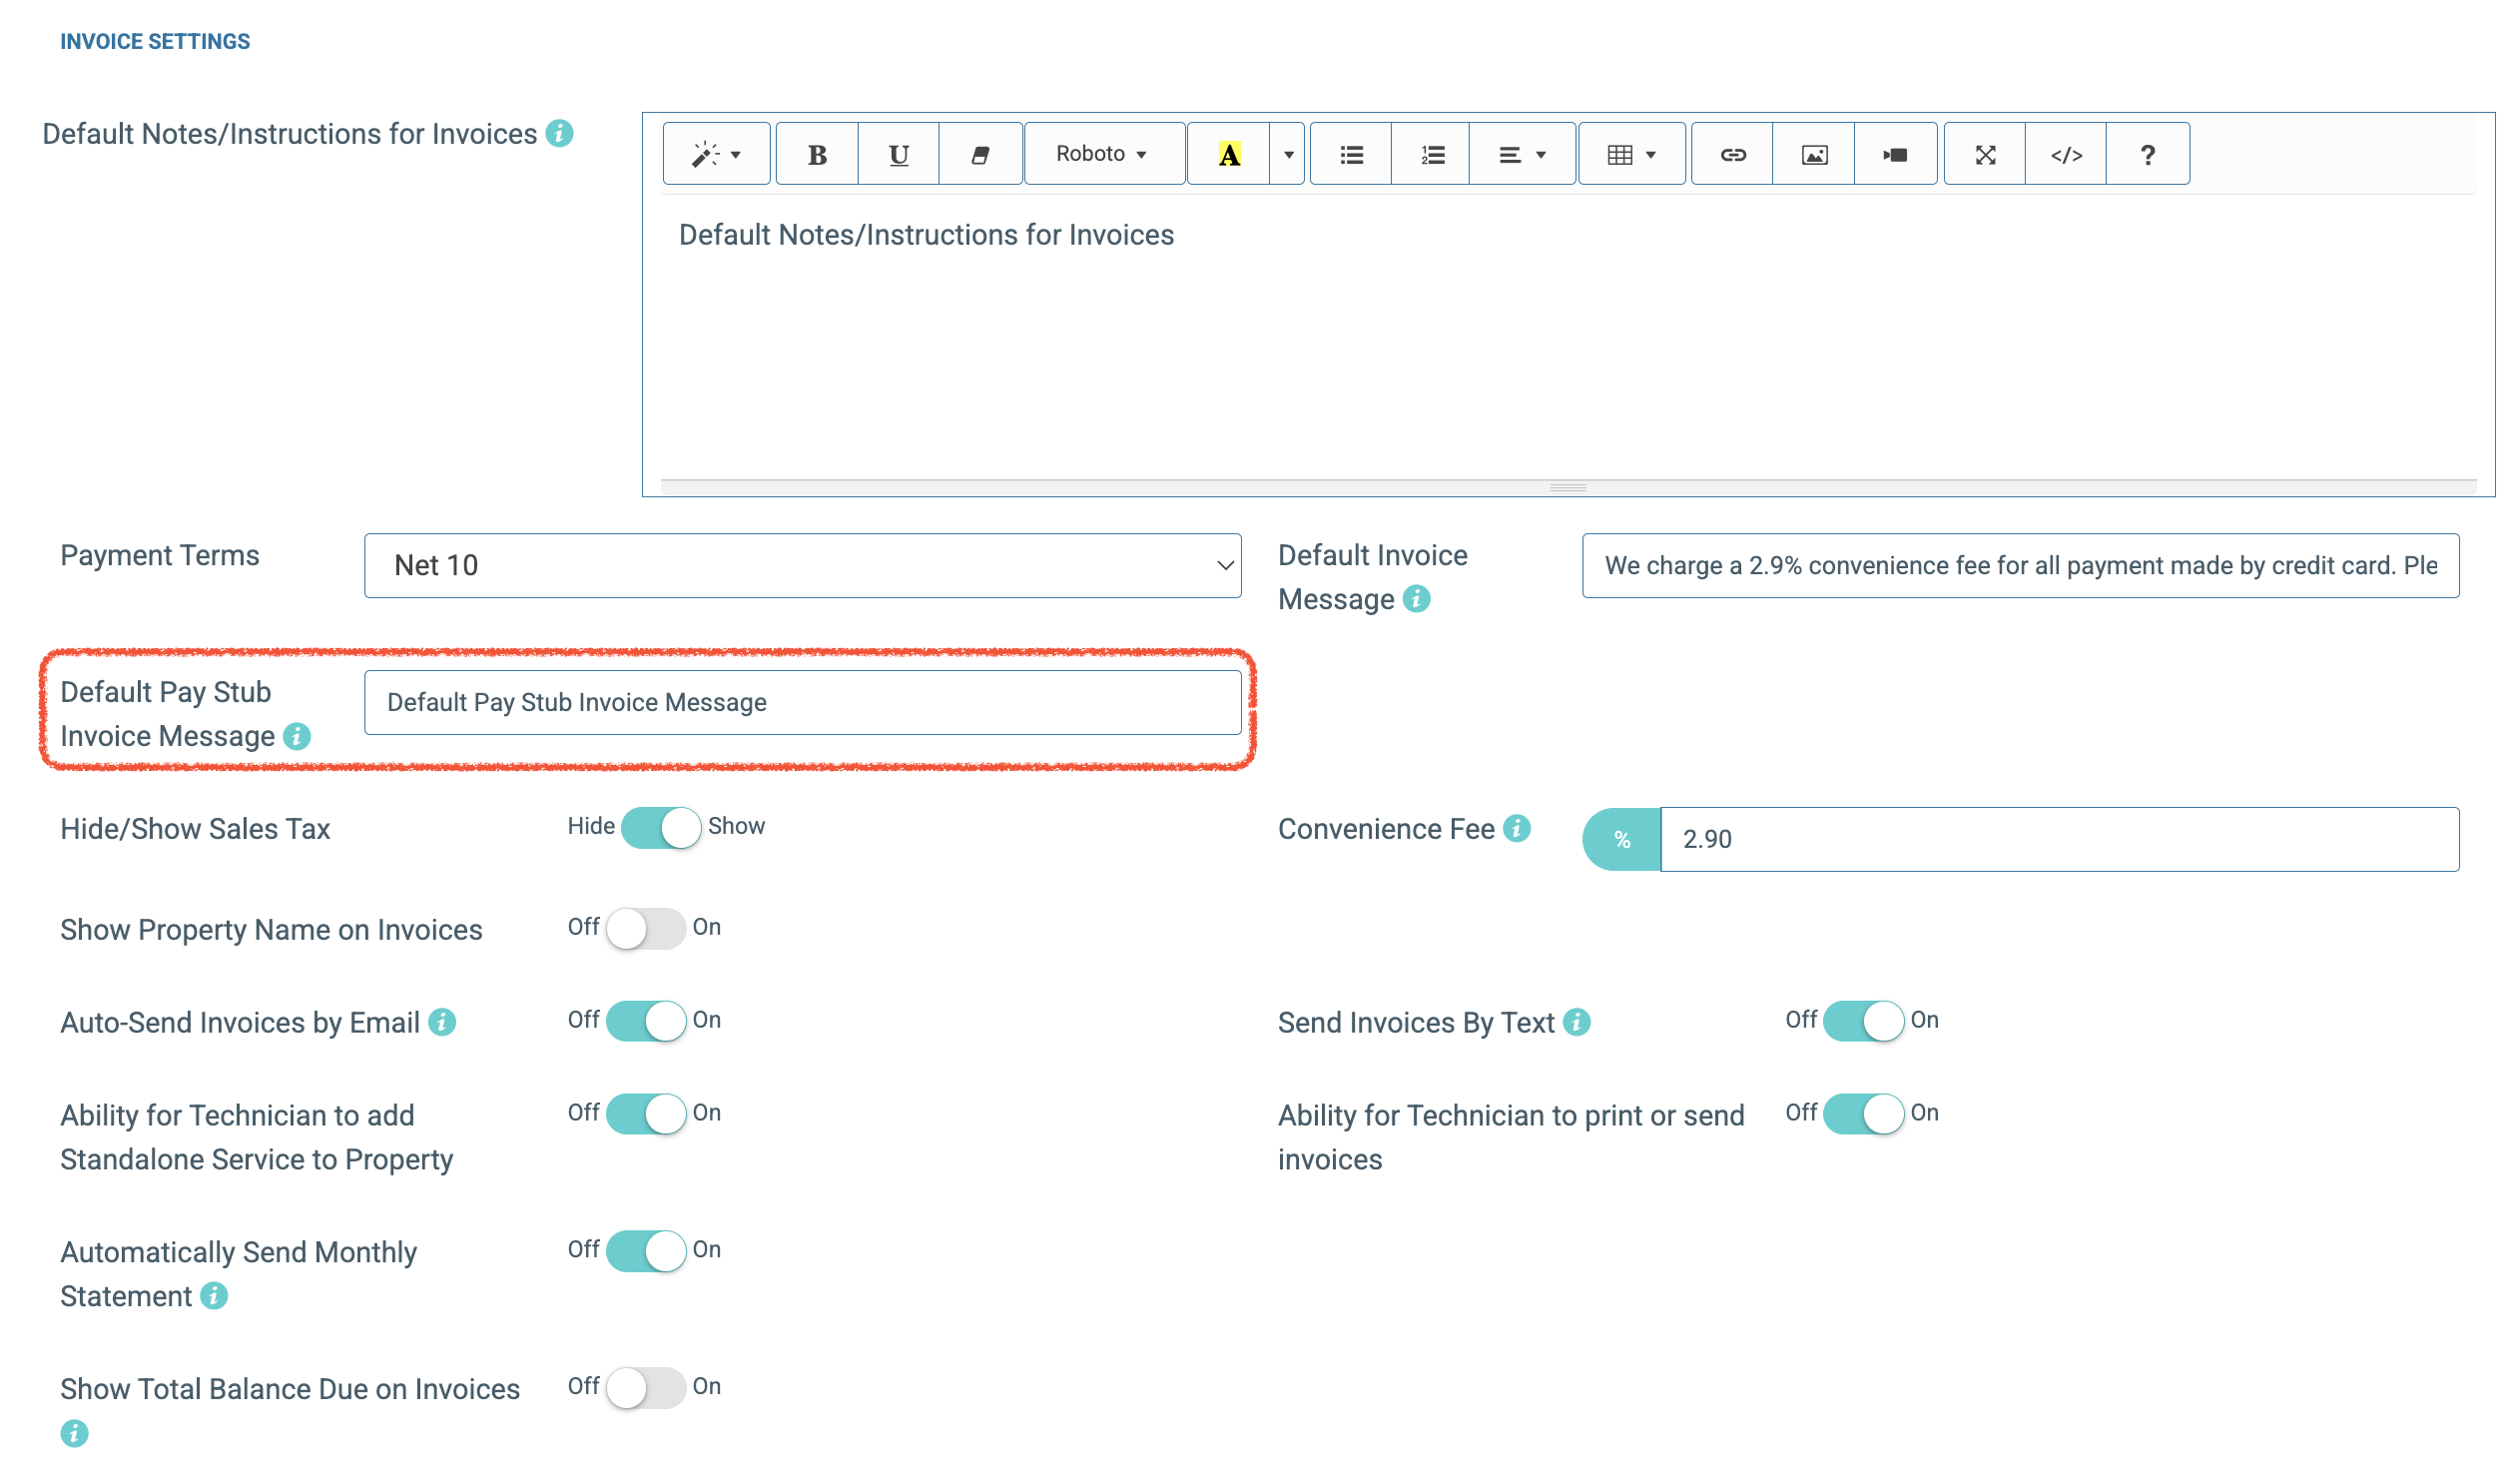
Locate the Default Pay Stub Invoice Message field.
Enter your custom message in the text box.
Click Submit or Save Changes to apply your edits.
Step 3: Print Pre-Printed Invoices
Navigate to the Scheduled Routes page.
Select the invoices you’d like to pre-print.
Click the Print w/ Pay Stub button.
Your customized message will now appear in red at the bottom of each invoice.
